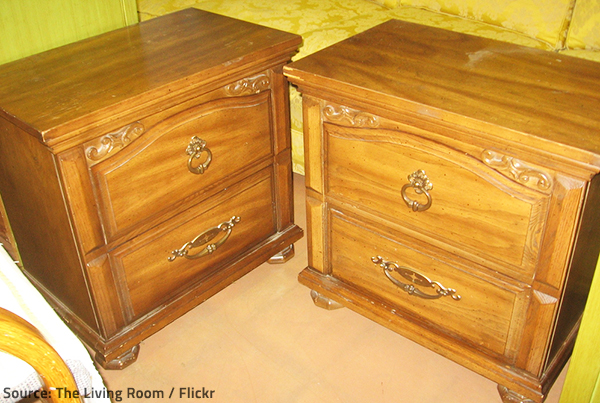
Your cherished wood furniture may have seen better days, but it is not beyond saving yet.
After many years of heavy use, a furniture piece may look like it’s nearing the end of its life. If it is a quality piece, however, this may not be so – despite its shabby appearance, well-made, solid wood furniture can be easily restored to its former beauty and functionality. Oftentimes, all you need to do in order to bring new life to an old piece is to strip the old finish and apply a new one – simple as that.
Stripping and refinishing wood furniture isn’t difficult, but it is a laborious and time-consuming process that requires a lot of patience and elbow grease on your part. To get the results you want, you need to know how to get the job done right.
Here are some practical tips for refinishing wood furniture that will help you complete your DIY furniture restoration project like a pro:
Do an Extensive Research
Before you start working on your project, make sure you understand what you are getting yourself into. Find out exactly what work will be required to restore the good condition of your furniture piece, how long it will take to complete the task, what tools and materials will be necessary, how much they cost, etc.
Bonus tip: It is a good idea to get several estimates from reputable furniture refinishers in your area as well – you may be pleasantly surprised by the offers you receive and decide that having your piece professionally restored is worth the small extra cost (after all, it will save you plenty of time and effort and will guarantee an excellent result).
Keep in mind that many mishaps can happen as a result of jumping into the refinishing project too hastily – you need to do extensive research and plan each and every step of the process in great detail in order to be able to make informed decisions, avoid rookie mistakes, and get the desired results.
Get the Necessary Supplies and Prepare the Work Area
Make sure you have everything necessary for your DIY refinishing project – a chemical stripper, a palm sander and sandpaper, a putty knife, brushes, steel wool, wood filler, stain or paint, sealant, varnish, personal protective gear, cleaning rags, sponges, etc. Be careful to choose the right types of products for your wood!
Choose a well-ventilated area, such as an open garage or a patio, for your work place. Ensure that the entire work area is dry and dust-free (otherwise, the dust and debris in the air will settle into the new furniture finish and result in unsightly specks). Put a large drop cloth or tarp on the floor and cover any nearby items with old sheets or other appropriate protective coverings to prevent stains and facilitate cleaning after the job is complete.
Take Adequate Safety Precautions
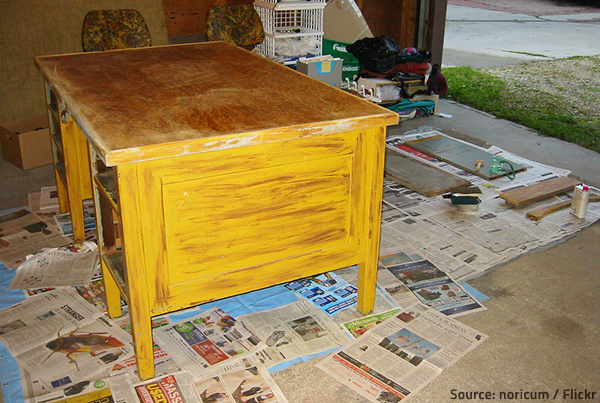
Are you ready for the big challenge ahead of you?
Take every possible precaution to ensure the safety of your work:
- Chemical strippers and solvents are very harmful to the skin, so you need to put on quality rubber gloves when handling wood refinishing products;
- Sanding produces a lot of dust, so you should always wear a dust mask when sanding wood furniture;
- Lacquer, shellac, and varnish give off strong fumes that can irritate the eyes, so you need to protect yourself with appropriate glasses or goggles. It is also advisable to wear a respirator with filter refills, so that you don’t inhale the noxious fumes;
- Stains and stripping chemicals can ignite, so you should never work near an open flame.
Allow Yourself Plenty of Time and Be Patient
Be patient and do not assume that you will be able to refinish your wooden piece in a day or two. Most projects require several days to complete – after all, you need to work very carefully in order to avoid mistakes. You may even have to redo certain steps or repeat them several times until you achieve the desired results. Besides, you’ll have to wait for the strippers to take effect, the paints and sealants to dry, etc. – and most of these products take a long time to dry and often require multiple coats.
Wood furniture refinishing requires time and meticulous attention to the detail – there’s no two ways about it.
Now that you’re properly prepared and know what to expect, you can finally get down to work.
How to Refinish Wood Furniture
There are several important steps to take in order to ensure a smooth and successful wood furniture refinishing process:
Step 1. Clean your furniture piece
Your first task is to give your old furniture piece a thorough cleaning. You can use a specialized wood cleaner or wax remover if you wish to, but the simplest and most efficient way to clean wood furniture is to scrub the surfaces with a sponge dipped in soapy water. When ready, rinse the piece with clear water (use a wrung-out sponge) and dry the surfaces with a towel.
Step 2. Remove the old finish
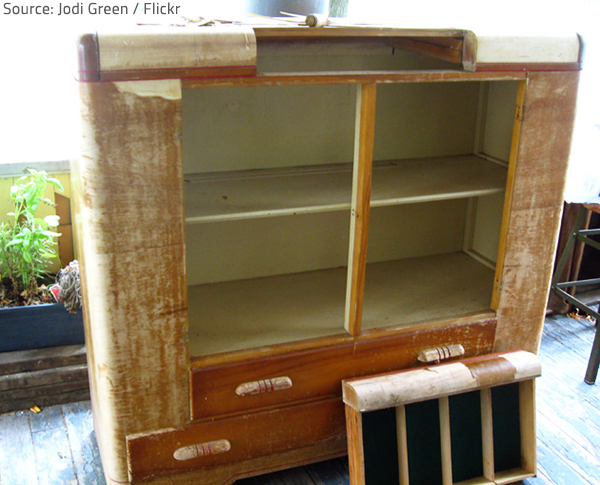
You need to completely strip your wood furniture before applying a new finish.
Removing the old paint and varnish from your wooden piece can be quite tiresome and messy, but it is very important to completely strip the furniture before refinishing it. The easiest and fastest way to do so is to use a chemical stripper, especially designed for the purpose. You’ll most likely need a thicker formula – a gel or paste (liquid strippers will run, so they can only be used on horizontal surfaces).
Good to remember: Strictly follow the manufacturer’s instructions on how to use the stripper product.
- Use a medium-sized paintbrush to apply a thick coat of the stripper evenly over the furniture surface. Let it soak for the period of time noted on the container;
- After the stripper has softened the old finish, start working with a putty knife or plastic scraper to remove as much of the paint and varnish as possible (keep in mind that the surface may be soft, so you need to be very careful not to gouge the wood). Use a soft brass brush to get into grooves and crevices;
- Follow up with medium grade steel wool (soaking the steel wool in the stripper will make it easier to remove the stubborn spots);
- If necessary, reapply the stripper and repeat the process;
- When the old finish is entirely gone, clean the stripper from the wood. You may need to apply a lacquer thinner to remove the leftover residue from the chemical product. Some strippers require no cleanup (but may still leave a residue which must be sanded away). Others can be washed away with water – any residue they leave behind can be removed by rinsing with water. However, the water may swell the grain of the wood, so that sanding will still be necessary;
- Allow the piece to dry completely.
Step 3. Make the necessary repairs (if any)
Check your stripped furniture for damage and make any necessary repairs before sanding and staining the piece.
Also, inspect the joints to make sure they’re tight (stripping can melt the glue that holds the joints together and cause them to loosen). If necessary, tighten the joints before proceeding with the refinishing.
Step 4. Sand the wood
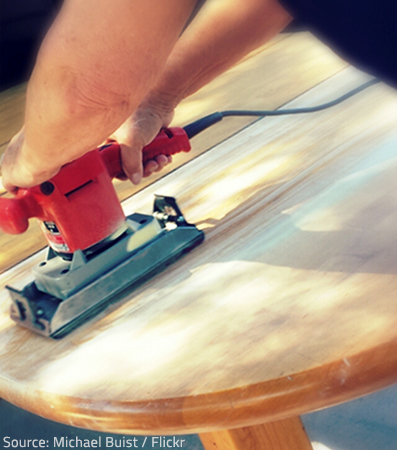
Once you have stripped the old finish and the piece is completely dry, you’re ready to sand the wood. Start with 120 grit sandpaper to remove any remaining finish and even out imperfections in the wood. Then, smooth the whole piece down with 220 grit sandpaper.
Proper sanding will ensure a smooth and beautiful finish.
Good to remember: Make sure you sand along with the grain of the wood. Take care not to damage the piece by sanding too deeply.
The surface has to be absolutely smooth in order to properly accept the finish. It is proper sanding that assures a smooth finish. The more careful you are when sanding, the better the quality of the final finish will be.
When ready, wipe down the whole surface with a tack cloth to remove any dust from sanding.
Step 5. Fill the grain
You may or may not need to fill the grain, depending on the type of wood of your furniture – woods with a tight grain don’t require grain filler, but ones with a more open structure, like oak and mahogany, must be filled in order to achieve a smooth, even finish.
Grain filler comes in a range of colors that allow you to either emphasize or de-emphasize the grain, so that you can give your wood furniture the exact appearance that you want it to have:
- To emphasize the grain of the wood, select a color that contrasts with the natural color of the wood or the color of the stain you intend to use;
- To de-emphasize the grain, use a color that closely matches the finish color of the wood.
Use a rag or stiff paintbrush to apply the filler. Work it into the grain and let dry for the recommended period of time. Remove any excess filler with a plastic scraper or putty knife (be careful not to damage the wood), then sand lightly to smooth out the surface.
Good to know: Some grain fillers must be applied after the stain, so make sure you consult the labels of your chosen products before starting work.
Step 6. Apply a sanding sealer
Your next step is to seal the wood – sealants protect the wood and prevent it from absorbing the stain unevenly.
- Apply a thick coat of sealant to the furniture surface. Be careful not to allow the sealer to puddle or fill in decorative grooves;
- Let the sealant soak into the wood for a few minutes;
- Wipe off any excess with a clean rag;
- Once the sealant has dried, sand down the surfaces with fine grit sandpaper.
Step 7. Stain the wood
Staining or painting your wood furniture will transform it into a work of art – one that perfectly matches your personal style and the rest of your home décor.
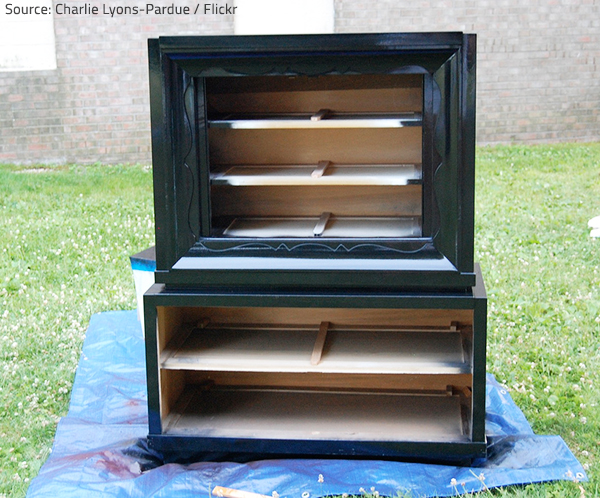
As good as new.
You can choose from water-based stains and paints, oil-based ones, gel products, and products that are “two-in-one” (stain and finish). Each of them has their own advantages and drawbacks – oil-based stains do not raise the grain of the wood but carry a strong odor; water-based stains are more environmentally friendly and easier to clean; etc. – so you need to do some research and choose the kind of stain that will work best in your particular case.
Whatever product you decide on, make sure you strictly follow the manufacturer’s application instructions. (Always test the stain on a small, inconspicuous area of your furniture before applying it all over the piece to make sure it looks the way you thought it would!)
Generally, liquid stains are applied with a staining pad or brush and gel stains – with a rag. Make sure you apply a thin, even coat of the stain – do not put a lot of it all at once (a thick coat will result in an uneven and unattractive finish). Wipe off excess stain with a clean cloth and let the piece dry for the recommended period of time.
You might need to apply several coats until the desired color is achieved. If so, wait for the first coat to dry completely before applying the next one. It is also advisable to lightly sand the wood between coats. The more coats you apply, the darker the finish will become.
Step 8. Apply a finish coat
The last step from the wood furniture refinishing process is to apply a finish coat. Once again, you can choose from a variety of finish products:
- Oil finishes are easy to apply and have a soft, natural appearance, but don’t offer as much surface protection as varnish or lacquer finishes;
- Water-based polyurethanes are environmentally friendly and very easy to use, but may raise the grain of the wood;
- Polyurethane varnishes create a very durable finish that can protect your furniture from scratches and dents for many years;
- Lacquer gives wood furniture an extremely beautiful finish that is also quite durable, but it is more difficult to apply.
Apply a thin coat of your chosen finish product to the wood furniture, let it dry, then lightly sand the piece with fine-grit sandpaper to make the surface smoother.
The professionals will do a great job with your wood furniture refinishing project.
Apply a final layer (two or three more layers may be needed, depending on the kind of finish you have chosen) and buff with a high-quality polish or wax to enhance the luster of your furniture and further protect it from scratches.
Allow the wood to cure for 24 hours before putting your furniture back to use.
Refinishing wood furniture by yourself can be very rewarding – it’s a great feeling when you see your worn-out chair, table, desk, or armoire looking like new again. The process, however, is quite laborious and time-consuming (and sometimes – too complex), so it is better left to the professionals. They have the specialized equipment, rich experience, and technical know-how required to complete the refinishing project in the safest, most efficient, and most cost-effective way possible. Just make sure you find skilled and trustworthy furniture repair specialists to trust your worn-out wooden piece to and you’re certain to be impressed by the results.


